


Engraving tools help create unique personalized tools that stand out. Whether you’re a beginner or a seasoned pro, creating custom engravings is an art form that requires knowledge and skill. The key to success lies in mastering the craft of engraving with the right techniques, tips, and tricks. In this article, we will provide insight on how to become an expert engraver with some essential tips and techniques to get you started.
Safety First
Whenever using any tool it’s important to practice safety first. When working with engraving tools, wearing protective gloves and eye-wear is highly recommended as they can protect from dust particles as well as sharp materials that may injure the skin or eyes. It’s also important to use proper ventilation when working on projects so you don’t inhale any dangerous fumes or particles released while producing and finalizing your project.
Selecting Your Tool
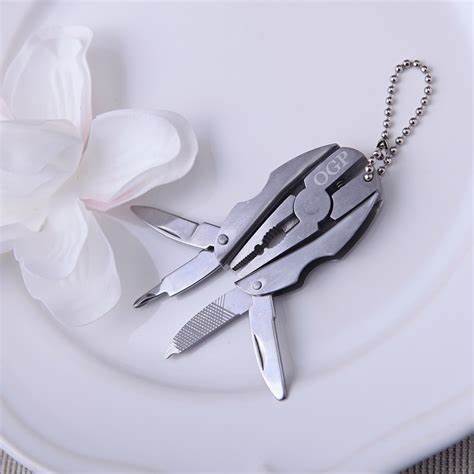
The right tool is essential for every successful project. For beginners looking to get into engraving, there are kits available that come with multiple options for different types of surfaces such as wood, metal or plastic. They typically include various sizes of bits along with some polishing stones for touch-ups once your project is complete. Once you gain experience in this field, investing in additional specialized bits can help you achieve more detailed results while reducing work time by 50%.
Understanding Different Materials
Before starting an engraving project, understanding which material works best for each project is important. Metals are generally easier to work with than other materials because they’re less likely to chip or crack after being carved compared to softer substances such as wood or stone, which require additional care when handling them due to their fragile nature. Plastics tend to be quite flexible, which makes them ideal for intricate designs, but its important not to apply too much pressure when carving them since they can easily melt under extreme conditions such as high temperatures or incorrect angles applied during the etching process.
Preparing Your Work Space
A clean workspace, free of dust and other debris, will ensure your projects look professional every time! Start by clearing away any unnecessary items from your work area before you start any projects so that nothing distracts you throughout the process. Make sure the lighting is adequate so that you can see everything you are engraving without straining your eyes. It is also a good idea to have extra pieces of scrap material nearby so that you can test whether certain techniques look good before applying them to actual pieces to be etched.
Setting up your engraver
Once everything is set up correctly, it’s time to start preparing your engraver. Depending on the type you are using, certain adjustments may need to be made to ensure optimal performance during the process, such as changing the angle of the bit, depth control settings, etc. If you are unsure of what needs to be done, consult the machine’s manual before starting to avoid damaging components through incorrect use. After making the necessary adjustments, try out a few lines of scrap material to understand the exact movements required to achieve the desired design.

Use correct techniques
To avoid ruining entire projects, it’s best to start slowly with new designs until you’re familiar with how the etching tool works within the given space, then gradually increase the speed according to the level of comfort achieved. Keep your movements steady, apply just enough pressure to carve through the surface, ensure clear-cut lines, and check your progress constantly to avoid inconsistencies in the middle of production caused by sudden movements, angle changes or incorrect positioning. When working with different textures, use slight rotations for best results, achieving even coverage across the surface without scratching delicate parts of the item being engraved. Finally, finish with sandpaper to achieve the perfect finish!
Conclusion
Engraving tools can help create beautiful masterpieces if used correctly, consistently following the above steps should lead to improvement in the accuracy, and quality of output produced, ultimately giving confidence to experiment further expand skills and perfect craft to become a masterful artist!